Table of Contents
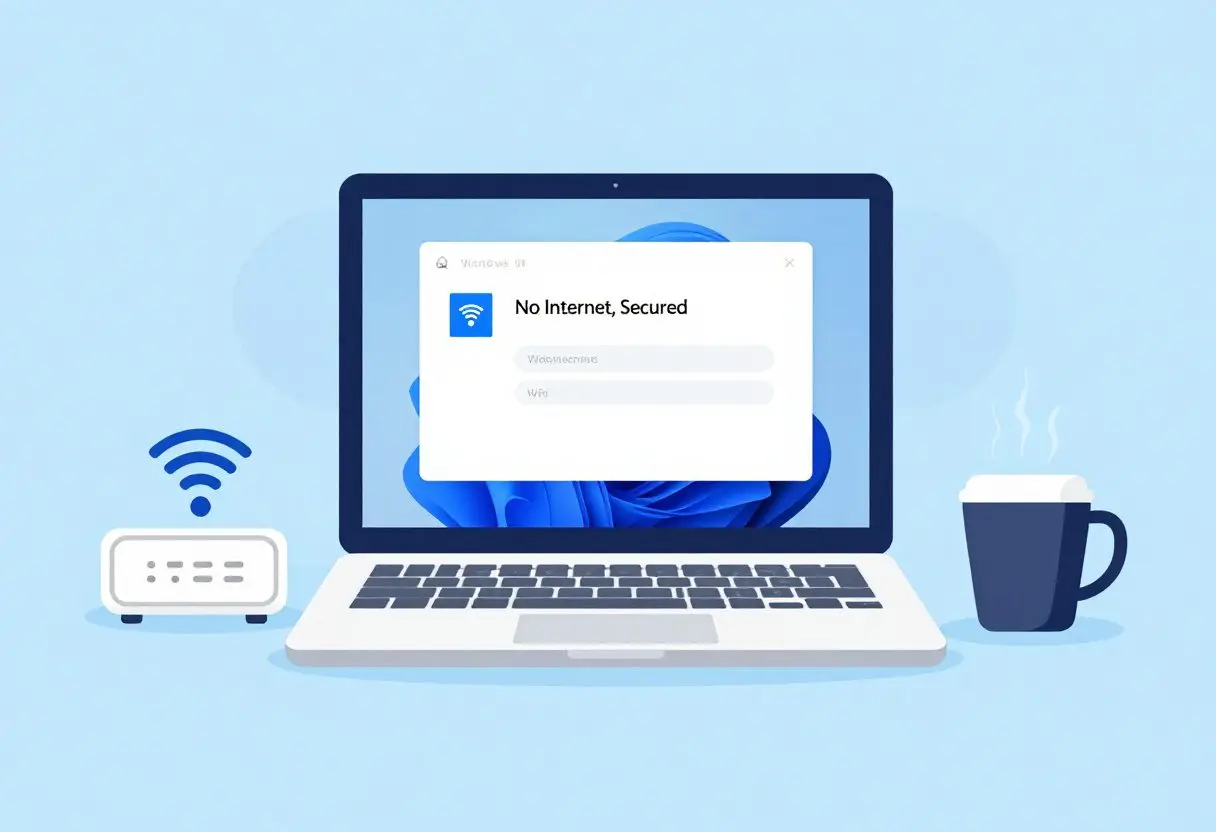
You’re connected to Wi-Fi. The bar shows full signal. Yet, no web pages load. This “No Internet Secured” message in Windows 11 hits many users hard. It means your PC links to the router fine. But it can’t reach the full internet. Issues like bad authentication or DNS problems often cause this block. You feel stuck without online access for work or play. Don’t worry. This guide walks you through fixes step by step. We’ll start simple and go deeper. By the end, you’ll reclaim your connection.
Introduction in Windows 11 No Internet Secured Error Status
The “No Internet Secured” error pops up often in Windows 11. Users see it after updates or network changes. It frustrates because the secure link exists. But internet access fails. This points to problems in how your device talks to servers. Think failed handshakes for secure sites. Or wrong settings that block data flow. Many face this daily. It halts streaming, browsing, or emails. The good news? Most cases fix with basic checks. We’ll cover them all here. You can solve this without calling tech support.
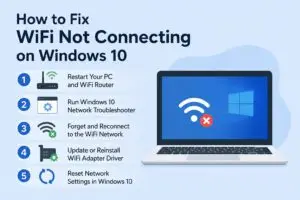
Step 1: Initial Triage – Quick Fixes for Immediate Resolution
Start with easy steps. These often clear the “No Internet Secured” issue fast. No tools needed. Just your hands and patience.
Restarting Network Hardware and the PC
Power cycles fix many glitches. Turn off your modem first. Unplug it for 60 seconds. Do the same for your router. This lets capacitors discharge fully. Then plug them back in. Wait for lights to stabilize. Now restart your Windows 11 PC. Hold the power button if needed. Log back in and check Wi-Fi. This resets hardware links. It clears temporary jams in signal paths. In most cases, your internet returns right away. If not, move on.
Checking Date, Time, and Time Zone Settings
Wrong time settings break secure connections. Windows uses time for TLS checks. Bad dates stop site logins. Open Settings on your PC. Click Time & Language. Select Date & Time. Turn on “Set time automatically.” Pick your time zone. Click Sync now. This pulls correct info from Microsoft servers. Restart your browser after. Test a site like google.com. Secure pages load smooth now. This fix works for 20% of users with clock errors.
Forgetting and Reconnecting to the Wi-Fi Network
Saved networks can hold bad data. Forget the profile to start fresh. Go to Settings. Pick Network & Internet. Click Wi-Fi. Select Manage known networks. Choose your network. Click Forget. Now scan for networks again. Pick yours and enter the password. This rebuilds the auth link. Windows 11 creates a new secure handshake. Your device joins clean. Check internet access. Pages should open without the error.
Step 2: Diagnosing and Resolving Driver and Adapter Issues
Drivers control your network card. Outdated ones cause “No Internet Secured” blocks. Update or roll back to stabilize.
Updating Network Adapter Drivers
Old drivers fail on new protocols. Check them in Device Manager. Right-click Start button. Select Device Manager. Expand Network adapters. Right-click your Wi-Fi card. Pick Update driver. Choose Search automatically. Windows scans for fixes. If none found, go to the maker’s site. For Intel, visit intel.com. Search your model. Download the latest for Windows 11. Install and restart. This boosts compatibility. Your secured connection holds firm.
Rolling Back Problematic Drivers
A fresh driver update might spark the issue. Undo it quick. In Device Manager, find your adapter. Right-click it. Select Properties. Go to Driver tab. Click Roll Back Driver. Confirm if available. This restores the old version. Restart your PC. The error often vanishes. Use this if problems started after an update. It saves time over full reinstalls.
Running the Built-in Windows Network Troubleshooter
Windows has a smart tool for this. It spots common faults. Open Settings. Go to System. Scroll to Troubleshoot. Click Other troubleshooters. Find Network Adapter. Run it. Follow prompts. It tests your card. Then try Internet Connections troubleshooter. It checks broader links. The tool reports issues like bad configs. Apply fixes it suggests. Many users see the “secured” status clear up here.
Step 3: Command Prompt Solutions for Deeper Network Reset
Command Prompt digs into system files. Use it for stubborn “No Internet Secured” errors. Run as admin for power.
Renewing IP Configuration with IPConfig Commands
IP addresses can stick wrong. Renew them to refresh. Press Windows key + R. Type cmd. Right-click and Run as administrator. Enter these one by one. First, ipconfig /release. This frees your current IP. Next, ipconfig /renew. It grabs a new one from the router. Then, ipconfig /flushdns. This clears bad name lookups. Hit Enter after each. Close and reopen your browser. Internet flows secure again. These commands reset the network base.
Resetting the Winsock Catalog and TCP/IP Stack
Corrupt stacks block secure talks. Fix with netsh commands. In admin Command Prompt, type netsh winsock reset. Press Enter. It rebuilds the socket library. Next, netsh int ip reset. This restores TCP/IP defaults. Restart your PC after both. These tools repair deep communication faults. They handle cases where handshakes fail. Your Windows 11 connection secures without hiccups.
Clearing DNS Cache to Resolve Resolution Failures
DNS holds site addresses. Bad cache stops loads. Flush it clean. In Command Prompt as admin, run ipconfig /flushdns. You see a success message. This wipes old entries. Restart your device. Now type a URL. Sites resolve fast. Secure pages open. Do this weekly for smooth browsing. It targets the root of many access denials.
Step 4: Advanced Security Protocol Adjustments
Security layers can clash. Tweak them to end the “No Internet Secured” woes. Test one change at a time.
Disabling VPNs and Third-Party Firewall/Antivirus Temporarily
Extra software blocks traffic. VPNs route data odd. Firewalls scan too hard. Turn off your VPN app first. Close it fully. Disable antivirus real-time protection. In Norton or McAfee, find the toggle. Test internet now. If it works, the software conflicts. Update or reconfigure it. Re-enable after. This isolates the culprit fast.
Checking Router Security Settings (WPA2/WPA3 Compatibility)
Routers set encryption types. Mismatches break Windows 11 links. Log into your router. Type 192.168.1.1 in browser. Enter admin password. Go to Wireless settings. Check security mode. Set to WPA2-PSK (AES) if WPA3 fails. Save changes. Reconnect your PC. This matches protocols. Updates to router firmware often need this tweak.
Adjusting Power Management Settings for the Network Adapter
Power save cuts adapter power. It drops secure connections. Fix in Device Manager. Find your network adapter. Right-click Properties. Go to Power Management tab. Uncheck “Allow the computer to turn off this device to save power.” Click OK. Restart. Your Wi-Fi stays active. No more sudden “secured” errors from sleep modes.
Step 5: The Final Network Reset Option
When all else fails, reset everything. This wipes network setups clean. Use it as last step.
Executing a Full Network Reset in Windows Settings
A full reset rebuilds adapters. It clears all configs. Go to Settings. Select Network & Internet. Click Advanced network settings. Find Network reset. Click it. Confirm and run. Windows removes adapters. It reinstalls them fresh. You’ll need to re-enter Wi-Fi passwords. Restart after. This fixes deep corruptions. Your internet secures like new. Back up passwords first.
Conclusion: Maintaining a Stable, Secure Windows 11 Connection
You now have tools to beat the “No Internet Secured” error. Start with restarts and time checks. Move to drivers and commands if needed. Security tweaks handle advanced cases. The full reset saves the day last. This issue stems from configs, not hardware breaks. Keep your system strong. Run Windows Update monthly. It patches network bugs. Check drivers quarterly too. Your PC stays online and safe. Test connections often. Enjoy smooth browsing ahead.
Windows 11 No Internet Secured Windows 11 No Internet Secured Windows 11 No Internet Secured Windows 11 No Internet Secured Windows 11 No Internet Secured Windows 11 No Internet Secured Windows 11 No Internet Secured Windows 11 No Internet Secured Windows 11 No Internet Secured
Windows 11 No Internet Secured Windows 11 No Internet Secured Windows 11 No Internet Secured Windows 11 No Internet Secured Windows 11 No Internet Secured Windows 11 No Internet Secured Windows 11 No Internet Secured Windows 11 No Internet Secured Windows 11 No Internet Secured Windows 11